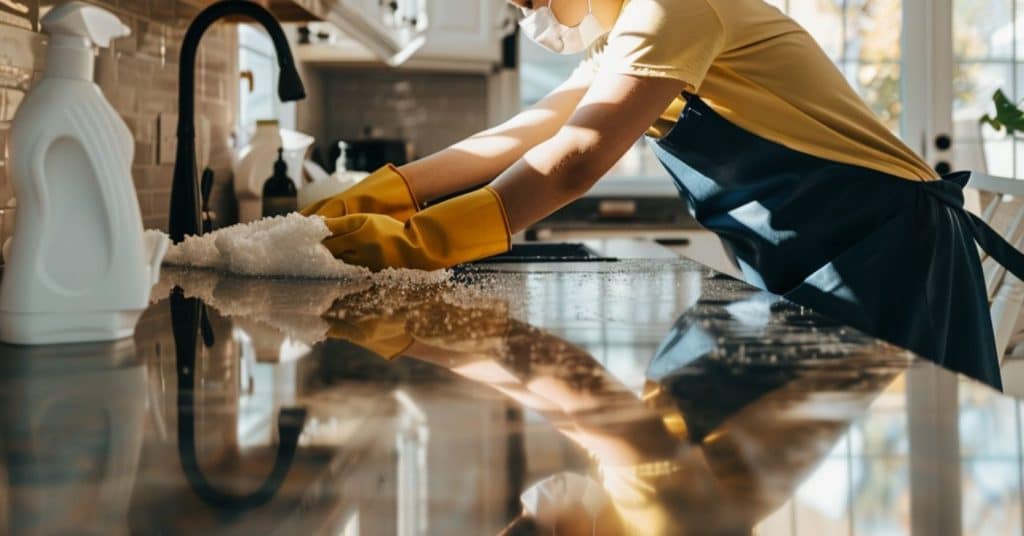
We’ve all been there—standing in the middle of a rental house that’s seen better days, wondering how to bring back its sparkle. Whether you’re a tenant aiming to secure your full deposit or a landlord preparing for the next occupants, deep cleaning is a task that demands attention to detail and a bit of elbow grease. But where do you start?
Fear not, because we’re here to guide you through the process. Deep cleaning a house doesn’t have to be a daunting task. With the right approach and some insider tips, we’ll show you how to transform any rental property into a pristine, welcoming space. Let’s dive into the essentials of deep cleaning, ensuring your rental house shines from corner to corner.
Understanding the Importance of a Deep Clean for Rentals
Why Deep Cleaning Is Essential
Deep cleaning a rental house transcends ordinary tidiness. It’s about offering peace of mind for both tenants and landlords by removing hidden dirt and germs that regular cleaning may well miss.
This process involves thorough cleaning of every corner, crevice, and surface in the property. It addresses areas often overlooked during standard cleaning routines, such as inside appliances, under furniture, and high-touch surfaces.
By doing so, it ensures a healthy living environment free from allergens and bacteria, which is especially important between occupancies. A well-executed deep clean can transform a space, making it more inviting and comfortable for everyone involved.
Benefits for Landlords and Tenants
For landlords, presenting a meticulously clean property sets a high standard for the tenancy. It not only attracts responsible tenants who value cleanliness but also justifies a competitive rental price. Furthermore, a deep-cleaned property has fewer maintenance and repair issues in the long run, safeguarding the landlord’s investment.
For tenants, moving into a deep-cleaned rental offers a fresh start. It’s reassuring to know that you’re living in an environment free from the remnants of previous occupants. This level of cleanliness can enhance personal comfort and well-being, making the rental feel truly like home. Additionally, adhering to a high standard of cleanliness from the start can make securing a full deposit return more likely when it’s time to move out.
In essence, deep cleaning serves as a critical foundation for a successful landlord-tenant relationship, fostering respect and satisfaction from both sides. It’s a clear demonstration of commitment to the property’s care and the well-being of its occupants, setting a positive tone for the tenancy ahead.
Before You Start: Planning Your Cleaning Approach
Gathering the Right Cleaning Supplies
First things first, we need the appropriate tools for the job. Imagine attempting to scale a mountain without the right gear; deep cleaning a rental house is no different. We’ll require an arsenal of cleaning supplies that can tackle everything from stubborn stains on the carpet to the dust bunnies hiding under the furniture. Essential supplies include a reliable vacuum, microfiber cloths for dusting, a mop and bucket, a variety of safe cleaning products for different surfaces, and don’t forget the rubber gloves. By selecting these items, we’re setting ourselves up for a smooth cleaning expedition.
Designating Cleaning Areas and Tasks
With our cleaning kit in hand, let’s play a game of divide and conquer. Assigning specific areas and tasks helps ensure we cover every nook and cranny without redoing or missing spots. Start by splitting the rental house into sections – living areas, bedrooms, bathrooms, and the kitchen. Each section demands special attention and techniques. For example, bathrooms need disinfecting, kitchens require degreasing, and living areas could use a good dusting and vacuuming session. By organizing our cleaning efforts, we make the process more manageable and efficient, turning a mountain of chores into molehills.
Tackling the Kitchen
Degreasing Appliances and Cabinets
Kicking off the deep-clean in the kitchen means rolling up our sleeves for some good old-fashioned degreasing. First, we head straight for the appliances and cabinets. Appliances, such as the stove and microwave, often harbor greasy residues that require a bit more elbow grease. We recommend using a degreasing agent or a mixture of baking soda and vinegar to break down the grime. For cabinets, especially those above the stove, a damp cloth with a mild detergent does the trick. It’s essential to wipe them down afterwards with a dry cloth to prevent any moisture damage.
Sanitizing Surfaces and Sinks
Next, we focus on sanitizing surfaces and sinks, prime spots for germs to party. We’re talking countertops, cutting boards, and the kitchen sink. A solution of bleach and water, precisely one tablespoon of bleach per gallon of water, ensures these areas are not just clean but sanitized. For natural stone surfaces, we steer clear of bleach and opt for a gentle, soap-based cleaner to avoid any damage. Wrapping up, we give the sink a thorough scrub with a sponge and soapy water, followed by a sanitizer. Remember, a shiny sink symbolizes a job well done in our book.
Refreshing the Bathroom
In the quest to deep clean a rental house, revitalizing the bathroom stands out as a critical component. This space, often a haven for hidden dirt and germs, requires special attention to make it sparkle and ensure a hygienic environment for incoming occupants. Let’s dive into the specifics of getting this area spotless.
Disinfecting Toilets, Tubs, and Showers
Beginning with the toilets, tubs, and showers, we recognize these areas as breeding grounds for bacteria. To tackle these, we start by applying a disinfectant cleaner formulated for bathroom use. Liberally spraying and letting it sit for the recommended time kills germs and makes scrubbing away grime much easier. For toilets, a dedicated toilet bowl cleaner and a stiff-bristled brush work best to scrub beneath the rim and around the bowl, ensuring a thorough clean. For tubs and showers, a non-scratch scrubbing pad does wonders on soap scum and water spots, leaving behind a pristine surface. Rinsing thoroughly after cleaning is paramount to wash away any lingering cleaner residue.
Deep Cleaning Tiles and Grout
Moving on to tiles and grout, these areas can often look dull over time due to build-up and staining. A mixture of baking soda and water makes an effective paste for tackling grout lines. Applying this paste and letting it sit before scrubbing with a small brush, such as an old toothbrush, helps lift stains and restore grout to its original color.
For cleaning tile floors, a vinegar and water solution in a spray bottle works well. Spraying the tiles, letting the solution sit for a few minutes, and then wiping clean with a cloth can rejuvenate their shine and cleanliness.
After these steps, mopping or wiping the floor with a disinfectant cleaner brings an additional layer of cleanliness, completing the deep clean of this crucial area.
Reviving the Living Spaces
Dusting and Cleaning Window Treatments
Starting with dusting, we tackle shelves, mantles, and every nook to banish dust bunnies. For window treatments, vacuuming with an attachment swiftly collects dust without damaging delicate fabrics.
Then, wiping down blinds with a damp cloth captures the stubborn grime often overlooked. This method leaves windows gleaming, transforming rooms into brighter, more inviting spaces.
Shampooing Carpets and Upholstery
Moving on to carpets and upholstery, we recommend a good shampooing session. Renting a carpet cleaner may seem like an extra step, but it pays off by extracting deep-seated dirt and odors.
For upholstery, a steam cleaner does wonders, reaching deep into the fibers to revive sofas and chairs. These efforts not only refresh but also prolong the life of these items, making the living spaces more welcoming and clean.
Clearing the Bedrooms
Deep cleaning a rental house extends into every corner and crevice, especially the bedrooms—a sanctuary for rest and privacy. After tackling the kitchen and bathroom, our next focus is on these personal havens.
Bedrooms require a dedicated approach to remove dirt, dust, and allergens, contributing to a healthier living environment. Let’s dive into how to transform them into spotless retreats.
Washing Bedding and Mattresses
First things first, strip the beds of all linens, pillowcases, and covers. Washing bedding at a high temperature kills dust mites and bacteria, leaving fabrics fresh and hygienic.
Don’t forget to deep clean mattress—a hotspot for unseen dirt and allergens. Vacuum it thoroughly on both sides, and if possible, go for a steam clean to eliminate any lingering odors or stains. Sprinkling baking soda on the surface, leaving it for a few hours, and then vacuuming it off can also deodorize and refresh the mattress effectively.
Organizing Closets and Drawers
Onto the closets and drawers, which often become clutter magnets over time. Empty them entirely to assess what’s inside. This step is more than just tidying; it’s about decluttering and deciding what items are essential.
Donate, recycle, or discard items that no longer serve a purpose. Wipe down the interior surfaces with a damp cloth to capture dust and give the closet and drawers a clean slate. Reorganizing the space not only makes items easier to find but also reduces clutter, contributing to a more serene bedroom atmosphere.
By focusing on these areas, we ensure that every bedroom in the rental house not only looks clean but feels genuinely refreshed. The goal is a comfortable, inviting space that supports rest and relaxation. Through this targeted cleaning process, we contribute significantly to making the entire rental house a cleaner, more appealing place to live.
Not Forgetting the Outdoors
Sprucing Up the Entryway and Patio
First impressions count, and the entryway and patio set the tone for a welcoming home. To start, we tackle the door by giving it a good scrub with soapy water and a brush to remove all dirt and grime.
A fresh doormat can also work wonders in making the space feel inviting. For patios, we sweep away leaves, debris, and then mop the floor, making sure to remove stains and mildew. Adding a few potted plants here can breathe life into the space, making it more inviting.
Handling Garbage Bins and Exterior Walls
Garbage bins and exterior walls often get overlooked, yet cleaning them can significantly boost a rental’s curb appeal. We advise washing garbage bins with a hose and a disinfectant cleaner to eliminate odors and bacteria.
For the walls, a power washer does an incredible job of blasting away dirt without the need for harsh chemicals. After all, who wouldn’t want their rental house to be the cleanest on the block?
Final Touches and Maintenance Tips
After addressing both the interior and outdoor areas of a rental house, it’s time to focus on the final touches that can make a significant difference and on providing maintenance tips that keep the property in top condition.
Airing Out the Property
Let’s start by letting the fresh air in. Opening windows and doors helps eliminate any lingering odors and introduces fresh air, a simple yet effective strategy for revitalizing the property’s atmosphere. It’s crucial after deep cleaning, as it ensures that any chemical smells are cleared out, making the space more inviting. Remember, a breath of fresh air can work wonders, not just for the property, but for everyone’s mood.
Scheduling Regular Deep Cleanings
Regular deep cleanings are key to maintaining the sparkle of your rental house and ensuring its longevity. We recommend mapping out a cleaning schedule, perhaps seasonally or between tenants, to tackle areas that need attention.
This proactive approach not only keeps the property in prime condition but also signals to tenants that you value their comfort and well-being. Plus, it can prevent small issues from turning into bigger, more costly ones down the line. So, grab that calendar and start planning – your future self (and tenants) will thank you.

