In our quest for a clean and happy home, we often find ourselves battling against the relentless wear and tear that our tile floors endure. From the scuffs and spills of daily life to the stubborn stains that resist our best scrubbing efforts, maintaining the pristine shine of our floors can feel like a Sisyphean task. But fear not, for we’re here to guide you through the art of deep cleaning your tile floors, ensuring they remain spotless and inviting.
We understand the challenges that come with keeping a bustling household spotless, especially when conventional cleaning tools fall short. That’s why we’re eager to share our insights on how to tackle even the toughest cleaning jobs with ease and efficiency.
Join us as we delve into the best way to deep clean your tile floors, transforming this daunting chore into a manageable task with rewarding results.
If you need us to do it for you, check our deep cleaning services in Melbourne for more!
Understanding Tile Floor Types and Their Cleaning Needs
Tile floors add beauty and character to any space but keeping them in tip-top condition requires knowing what you’re dealing with. Let’s break down the different types of tile and how to keep them looking their best.
Ceramic and Porcelain Tile Floors
Ceramic and porcelain tiles are the superheroes of the tile world—durable, resistant to scratches, and easy to clean. A regular sweep or vacuum keeps dirt and grit from dulling the surface, while a damp mop with a mild detergent does wonders for keeping them looking new. Remember, using the right cleaner is crucial; harsh chemicals are a big no-no as they can wear down the glaze.
Stone Tile Floors
Stone tiles, such as marble, granite, and slate, require a bit more TLC. These natural beauties are porous, meaning they soak up liquids and are more susceptible to staining than their ceramic counterparts. Cleaning them involves gentle, pH-neutral cleaners to avoid etching or damaging the stone. Sealing stone tiles periodically helps protect them against moisture and stains, making them more resilient against everyday spills.
Resilient Tile Floors
Resilient tiles, including vinyl and linoleum, offer great durability and a softer underfoot feel, making them a popular choice for many homeowners. However, they’re not invincible. To keep them shining, avoid abrasive cleaners and implements that can scratch or dull the surface. A simple mix of water and mild detergent, applied with a soft mop, usually does the trick. For stubborn stains, a touch of baking soda on a damp cloth can help lift marks without harming the tiles.
Preparing for a Deep Clean
Gathering Essential Tools and Materials
Before diving into the deep clean, we’ve got to round up the right gear. Think of it as assembling your cleaning dream team. You’ll need a few heroes like a sturdy brush, possibly with stiff bristles for those stubborn grout lines.
A trusty mop and bucket combo is non-negotiable, along with some microfiber cloths for that gentle, yet effective touch on the tile. You can also use them to deep clean wooden floors.
Cleaning agents also play a crucial role, so arm yourselves with a gentle detergent, and perhaps a friendlier, eco-conscious cleaner like vinegar or baking soda for those more resilient stains. And let’s not forget, if you’re dealing with tougher spots, oxygen bleach could be your secret weapon – just remember to use it wisely.
Step-by-Step Deep Cleaning Process
Applying the Cleaner
First off, we’ll select the most effective cleaner for our tile type, be it ceramic, porcelain, or stone. Mixing our chosen solution, say, a half cup of white vinegar to a gallon of warm water for those eco-friendly enthusiasts, gets us ready for action.
We’ll pour this concoction directly onto the floor or apply it using a spray bottle, covering a manageable area to prevent the solution from drying out before we get to scrubbing. This approach ensures every inch gets the attention it deserves without overwhelming us or our floors.
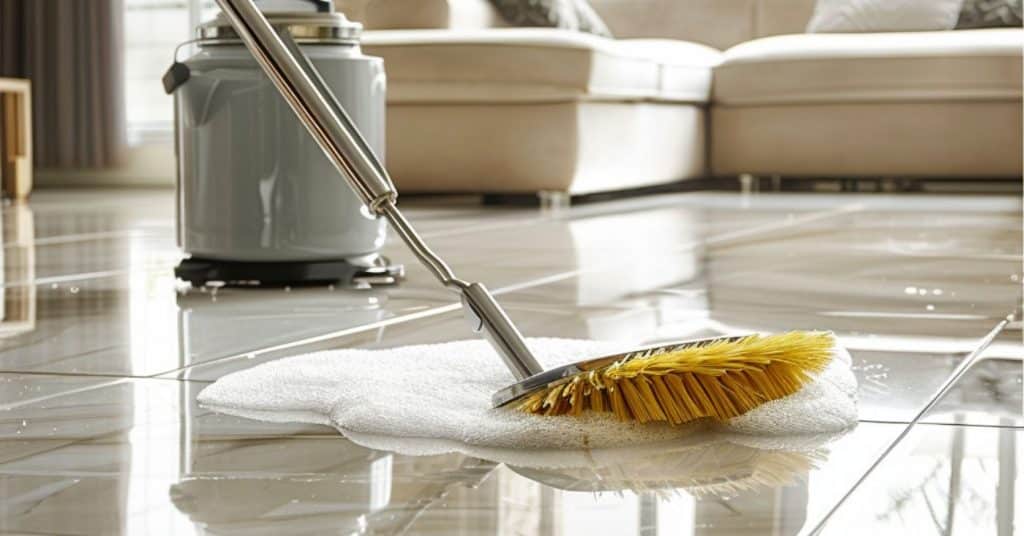
Scrubbing the Tiles and Grout
For the elbow grease part. We grab our scrub brush or an old toothbrush for those hard-to-reach grout lines and start scrubbing. Circular motions work best to dislodge the dirt without damaging the tiles.
For stubborn stains, a paste made of baking soda and water applied directly to the spot before scrubbing can do wonders. This stage is critical for transforming grimy tiles back to their former glory, focusing on grout lines that have seen better days.
The extra efforts you have to put in here is the difference between deep cleaning and regular cleaning.
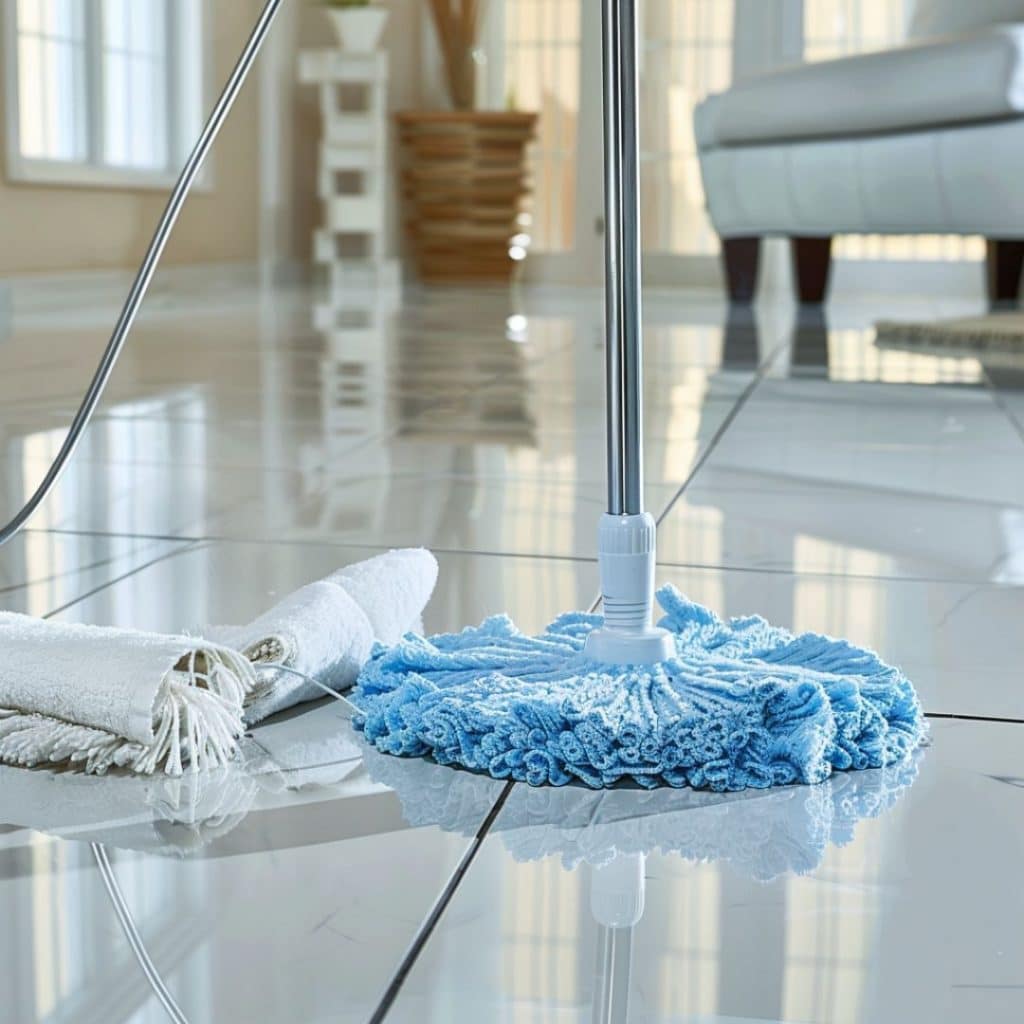
Rinsing and Drying for a Sparkling Finish
After we’ve given our floors a thorough scrub, it’s time to rinse away the dirt and cleaning solution. Fresh, clean water and a mop will do the trick, removing all traces of vinegar, baking soda, or detergent.
Once the floor’s rinsed, we’ll dry it using soft towels or a microfiber cloth, revealing a shine that’ll make you want to throw away your slippers and slide around in socks. This final step prevents water spots and ensures our floors look as good as new.
The Best Cleaners for Tile Floors
Chemical Cleaners vs. Natural Solutions
When diving into the cleaning process, we encounter two main allies: chemical cleaners and natural solutions. Chemical cleaners, potent and ready to tackle the toughest grime, work magic on stubborn stains.
However, they often come with a strong scent and may require gloves for safe handling. On the flip side, natural solutions, like a mix of vinegar and water, offer a friendlier approach to our noses and skin. This is also why we prefer natural solutions for mould removal for walls and ceiling.
Surprisingly effective, these natural concoctions can handle everyday dirt and are kinder to the planet. It’s like choosing between a seasoned warrior and a wise sage for our cleaning crusade.
The Role of pH in Tile Floor Cleaning
Understanding the pH level of our cleaning solutions plays a crucial role in keeping our tile floors in prime condition. A neutral pH cleaner is safe for most tile materials, preventing damage to the tile’s surface. For tougher jobs, an alkaline solution may well be necessary to break down grease and dirt without harsh side effects. Meanwhile, acidic cleaners excel at removing mineral deposits and soap scum, but they demand cautious application to avoid harming the tiles. It’s like being a chemist in our kitchen, mixing potions to reveal a floor that dazzines.
Addressing Tile Grout: The Hidden Challenge
The Best Techniques for Grout Cleaning
Grout cleaning may well sound like a tough job, but we’ve got you covered with some foolproof methods. Starting with a DIY grout cleaner, mix baking soda with water to create a paste. This simple yet effective solution works wonders on even the trickiest of stains. Apply it with a soft brush, let it sit, then scrub gently.
For tougher stains, oxygen bleach mixed with water can be a game-changer. Just remember to apply the paste to the grout lines, wait for about 15 minutes, then give it a good scrub. Regardless of the method, rinse the area with clean, warm water to reveal grout that looks good as new.
Sealing Grout for Long-Term Protection
Once your tile grout is sparkling clean, don’t stop there. Sealing it is the key to keeping it that way. Applying a silicone-based sealer works best to ward off future stains and dirt. This protective layer creates a barrier, making your grout much easier to clean next time around. The process is straightforward: choose the right sealer for your tile type, apply it carefully according to the product’s instructions, and give it ample time to dry. You’ll thank yourself later for this extra step that extends the life and beauty of your tile floors.
Maintaining Your Tile Floors Post-Clean
Regular Maintenance Tips
After giving your tile floors a thorough deep clean, keeping them in tip-top shape becomes the next challenge. We recommend starting with frequent dry mopping. This simple act does wonders, picking up dust and hair that, if left unattended, can make your floors look duller faster than you’d think.
Pair this with spot cleaning as necessary—life happens, and spills are part of the adventure. Instead of waiting for a designated cleaning day, wiping up messes immediately can prevent stains from becoming permanent features of your flooring.
For wet cleaning, adopt a less-is-more approach with water, especially on natural stone tiles that are prone to water spots. Use a damp mop rather than a wet one, and opt for a pH-neutral floor cleaner to preserve the shine without harming the grout. This cleaning ritual, done weekly, maintains the cleanliness without overexerting yourself or the tiles.
Sealing Tiles for Extra Protection
Let’s talk about adding an extra layer of armor to your tile floors. Sealing your tiles and more importantly, the grout, cannot be overstated. If you have porous tiles like stone, sealing them right after a deep clean and then once a year keeps them resistant to spills and stains.
As for grout, considering it’s usually the first place to show dirt, applying a silicone-based sealer post-clean can work magic. This barrier not only keeps out daily dirt but also simplifies your cleaning routine moving forward.
Choosing the right sealer is key—silicone-based for grout and depending on the type of tile, a respective sealer that matches its needs. A sealed floor is easier to clean, requiring less elbow grease for maintaining its pristine condition. Remember, the aim is to work smarter, not harder, so seal those tiles and make future cleans a breeze.
In essence, keeping your tile floors shining after a deep clean boils down to routine care and adding protective measures. It’s not rocket science, but a game of consistency and knowing when to add that extra protective layer. Follow these tips, and watch as your floors continue to sparkle, making every step you take feel just as satisfying as the last.
Frequently Asked Questions
How do professionals clean tile floors?
Professionals begin with vacuuming to eliminate loose dirt, followed by mopping to tackle stains. They finalize the cleaning with a steam clean, targeting both tile and grout for a comprehensive clean.
How do you remove buildup from tile floors?
To remove buildup, use a nonabrasive all-purpose cleaner. For a DIY solution, try mixing a mild acid like lemon juice with water for ceramic or porcelain tiles. Dry the tiles after cleaning to prevent water spots.
How do you clean ingrained dirt from tiles?
For ingrained dirt, natural cleaners like vinegar, baking soda, or hydrogen peroxide are effective and safe. Choose the right cleaner based on your tile type, grout, and the specific dirt you’re dealing with.
What is the most effective way to clean tiles?
Create a paste with baking soda and water. Apply it to stained tiles and let it sit for 15-20 minutes. Scrub gently with a brush or sponge and rinse with warm water. Dry with a microfiber cloth for the best result.
Can vinegar damage ceramic tile?
Yes, vinegar’s acidity can harm ceramic tiles by ruining the finish and potentially deteriorating the grout. It’s advisable to avoid vinegar and opt for gentler cleaning methods for these surfaces.