Discovering mold on your bathroom ceiling can be a disheartening sight. It’s a common issue many of us face, stemming from the warm, moist environment our showers create. This ideal breeding ground for mold not only poses a risk to our health but can also cause significant structural damage if left unchecked. Tackling mold is crucial, yet the thought of removing it can seem daunting.
Fortunately, we’re here to guide you through the process of eradicating ceiling mold effectively, ensuring your bathroom returns to a safe and clean state.
By understanding the root causes—such as inadequate ventilation, excess moisture, and warm temperatures—you can prevent mold from making an unwelcome return. With a few household products and the right approach, we’ll show you how to tackle this pesky problem head-on..
Identifying Mold on Your Ceiling
Recognizing mold on your ceiling is crucial for maintaining a healthy living environment. Let’s dive into how to spot and understand the implications of mold presence in your home.
Visual Inspection
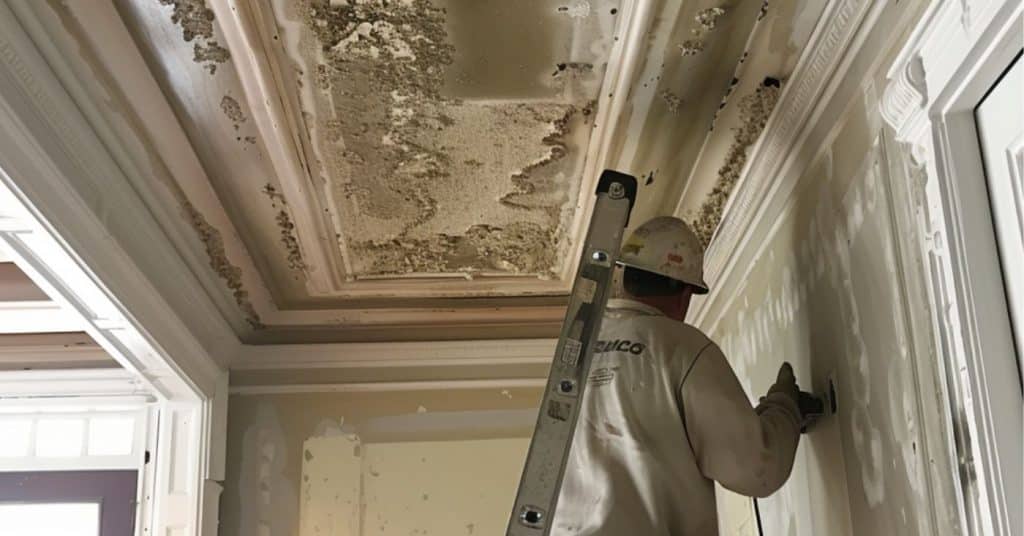
Spotting mold starts with an eagle eye. Commonly, mold appears as a dark, damp patch that may well spread across high-moisture zones, especially in bathrooms. It’s not just about a discolored spot; texture matters too.
Mold can manifest in fuzzy or slimy textures, signaling more than just a harmless stain. When inspecting, pay particular attention to corners and areas around vents where moisture accumulates. Catching these signs early enables proactive measures, significantly mitigating potential damage.
Health Symptoms Linked to Mold Exposure
Living with mold is no small affair, especially considering the health stakes. Exposure often leads to unpleasant symptoms such as sneezing, coughing, eye irritation, and even skin rashes.
For individuals with asthma or allergies, it’s a bigger issue; mold can exacerbate these conditions, leading to increased discomfort or serious health episodes.
If you notice a sudden onset of these symptoms without a clear cause, it may well be time to inspect your ceiling for mold. Remember, addressing mold issues promptly can protect not only your home’s structure but more importantly, your health.
Necessary Tools and Materials
To tackle mold on ceiling effectively, gathering the right tools and materials is crucial. Let’s jump into what you’ll need.
Safety Equipment
First and foremost, safety comes first. Mold removal isn’t something to take lightly, especially considering the potential health risks involved. You’ll need:
- Rubber gloves: These are non-negotiable. They protect your hands from harsh chemicals and prevent direct contact with mold.
- N95 mask or respirator: Breathing in mold spores is a big no-no. An N95 mask or a more advanced respirator ensures you’re not inhaling any nasties during the cleanup process.
- Safety glasses: Mold can irritate your eyes. Safety glasses keep them shielded from both the mold and any splashing cleaning solutions.
- Protective clothing: Opt for long sleeves and pants to minimize skin exposure. Bonus points if it’s something you don’t mind bleaching out afterwards!
Remember, gearing up properly not only guards your health but also makes the whole cleanup mission less of a headache.
Cleaning Supplies
With safety gear sorted, let’s move on to the cleaning arsenal. Effective mold elimination requires:
- Spray bottle: For applying your chosen mold-killing solution directly on the affected areas without making a mess.
- Cleaning agent: There are a variety of options here. A simple mixture of water and soap can work wonders, but for tougher jobs, you may well want to use diluted bleach or a specialized mold remover.
- Sponge or scrub brush: These are essential for scrubbing the mold away. A sponge is suitable for smooth surfaces, while a scrub brush can tackle tougher, more textured areas.
- Bucket of water: Useful for rinsing your sponge or brush as you clean.
- Plastic sheeting: Consider this if you’re dealing with a significant amount of mold. It helps contain the area and prevent spores from spreading to other parts of your home during cleaning.
Each item in this list plays a key role in your mold-fighting quest. Armed with the right tools and materials, and a dash of elbow grease, you’ll be ready to banish that pesky ceiling mold for good.
Preparing the Area for Mold Removal
Getting rid of mold on your ceiling isn’t just about scrubbing it away. It’s a process that starts with setting up your space correctly. Let’s dive in.
Clearing the Space
Before tackling the mold, clear out any furniture or items directly below the affected area. We aim to prevent any belongings from getting damaged during the cleanup. Cover the floor with plastic sheeting or an old sheet that you don’t mind parting with.
This action keeps the space cleaner and makes the post-cleanup simpler. Items too bulky to move? Cover them as well. The goal is to create a blank canvas that allows easy access to the moldy villain above.
Protective Measures
Safety first, always. Before embarking on this mold-busting journey, gear up with the right protective attire. Arm yourselves with long-sleeved shirts and long pants to shield your skin from irritants. Don gloves to protect your hands from cleaning solutions. Goggles are a must to keep your eyes safe from spores and splashes.
Remember, wearing an N95 mask isn’t just a fashion statement here; it’s a necessity to prevent inhaling those pesky mold spores. Adjust your mask correctly for a snug fit—no cheating by leaving your nose out. Safety gear isn’t just equipment; it’s your armor in this battle against the mold menace.
Mold Removal Techniques
Dealing with ceiling mold can be straightforward with the right approach. Here’s how to tackle it effectively.
Vinegar Method
Vinegar, a mild acid, works wonders on mold. First, fill a spray bottle with white distilled vinegar. Don’t dilute it; vinegar’s strength is key here. Spray the affected area thoroughly, let it sit for an hour, then wipe clean with water and allow the ceiling to dry. Vinegar not only removes mold but can also prevent it from coming back if used regularly.
You can also use vinegar to remove mold from walls.
Baking Soda Method
Baking soda is not just for baking; it’s a safe and effective mold cleaner too. Start by dissolving a teaspoon of baking soda into two cups of water.
Pour the solution into a spray bottle and shake well. Spray the moldy area, scrub with a brush, and rinse with water. Afterward, spray again but don’t rinse, as leaving a thin layer of baking soda acts as a deterrent for future mold growth.
Hydrogen Peroxide Method
Hydrogen peroxide is a non-toxic antifungal and antiviral agent that’s perfect for mold cleanup. Mix one part of 3% hydrogen peroxide with two parts water in a spray bottle.
Spray generously on the moldy surface, wait 10 minutes for it to penetrate, and then scrub the mold away. Wipe the area clean with a damp cloth to remove any residual mold and peroxide solution.
By incorporating these methods, we can address mold issues promptly and efficiently, maintaining a healthier and cleaner home environment. Remember, persistence and regular checks can keep that pesky mold at bay.
Post-Cleanup: Drying and Repairing the Ceiling
After you’ve waged war on mold, winning the battle means getting everything bone-dry and fixing any damage caused. Let’s dive into how we can do just that without making it a saga.
Drying the Area Thoroughly
First off, let’s tackle drying. Mold loves moisture like a fish loves water. To stop it from popping back up, we need to keep the area as dry as the Mojave Desert. Crack open those windows, let fresh air whirl in, and if you’ve got fans or a dehumidifier, now’s their time to shine. Aim for complete dryness. Think Sahara, not Seattle.
Repairing Any Ceiling Damage
Moving on to repairs—sometimes, mold leaves a parting gift in the form of damage. Inspect the ceiling for any spots that look worse for wear. Small fixes may well be a simple patch and paint job.
For more significant issues, consider calling in a pro. Remember, a job well done now saves a headache later. Plus, who doesn’t love the look of a flawless ceiling? Let’s ensure our victory over mold isn’t just for the moment but for the long haul.
Prevention Strategies
After tackling the stubborn mold on your ceiling, the last thing you want is for it to return. Here’s how to keep your ceilings mold-free going forward.
Improving Ventilation
One of the most effective ways to prevent mold is by enhancing air circulation in your home. Start by cracking open windows and using exhaust fans in high-moisture areas like bathrooms and kitchens.
If you’re dealing with a room without windows, consider adding a ceiling fan or a standalone air circulator. Remember, fresh air is mold’s nemesis.
Humidity Control
Keeping indoor humidity levels in check plays a crucial role in avoiding mold. Aim to keep humidity below 60%, using dehumidifiers if necessary.
Placing these units in areas prone to moisture, such as basements and bathrooms, can significantly reduce the risk of mold growth. It’s also wise to fix any leaks promptly and ensure your home’s dryer vents outside.
Regular Cleaning Schedule
Consistency in cleaning can make a huge difference in preventing mold. Wiping down surfaces prone to dampness, including bathroom ceilings and walls, after showering helps a lot. Schedule deep cleanings for these areas every few months.
For ceilings, a simple wipe with a fungal-resistant cleaner can keep mold spores at bay. Plus, keeping an eye out for early signs of mold allows you to address the issue before it becomes a bigger problem.
Troubleshooting Common Issues
Tackling mold on your ceiling can sometimes feel like a game of whack-a-mole. Just when you think you’ve got it all, another spot appears. We’re here to guide you through some common hitches you may well face and how to overcome them.
Persistent Mold After Cleaning
Persistent mold is like that one guest who just doesn’t get the hint to leave. If you’ve cleaned the ceiling and mold keeps returning, it’s a sign of deeper moisture issues. Improving ventilation is crucial; consider installing exhaust fans or dehumidifiers to keep humidity in check.
Sometimes, the mold roots itself deeper into your ceiling than you can reach with surface cleaning. In such cases, contacting professionals who can assess and treat the mold from the inside out becomes essential.
Discoloration and Damage to the Ceiling
After a mold party on your ceiling, discoloration and damage can be the unwanted mementos left behind. If cleaning has left your ceiling looking like a patchwork quilt, painting with a mold-resistant paint is a good strategy.
But, if the texture of the ceiling has changed or if there are signs of water damage like bubbling or peeling, it may well point to more significant issues beyond just mold. Address any leaks or water damage promptly to nip the root cause in the bud.
And remember, for severe damage, getting a professional evaluation is key to ensuring your ceiling doesn’t just look good, but is structurally sound too.
Navigating these issues can be tricky, but with the right approach, you can reclaim your ceiling and ensure a healthier living environment. Remember, we’re here to make the process as straightforward as possible. Keep these tips in hand, and you’ll be mold-free in no time.
When to Call a Professional
Sometimes, mold on the ceiling demands more than a DIY approach. Recognizing when to call in the experts can save both time and effort.
Recognizing When the Job Is Too Big
If mold occupies an area larger than 10 square feet, it’s time to consult a professional. Large infestations usually indicate deeper issues that require specialized equipment and techniques to resolve effectively.
Additionally, if the mold returns after repeated cleaning, this stubborn persistence suggests an underlying problem beyond the surface, such as extensive water damage or a persistent leak, which professionals can diagnose and treat more accurately.
Health Risks and Safety Concerns
Handling mold involves exposing oneself to potential health risks, especially for individuals with respiratory issues or mold allergies. The presence of mold generates spores that can irritate the lungs, skin, and eyes.
If the thought of suiting up with gloves and a respirator doesn’t sound appealing, or if health issues make this risky, it’s best to leave the task to skilled professionals. They have the right protective gear and cleanup methods to tackle mold while minimizing exposure to harmful spores.
Remember, tackling mold is important, but so is doing it safely—sometimes, that means knowing when to step back and let the experts take over.